How to Choose the Right Shower Arm for Your Bathroom?
Choosing the right Shower Arm can change how comfortable, balanced, and reliable your daily shower feels. It is not only a decorative pipe. Its length, angle, material, and connection determine where water lands on your shoulders. A few centimeters can separate a relaxing spray from water hitting the wall.
Daniel O’Brian, a technical expert at SupplyHouse.com, offers a practical reminder: “Choose the connection before the finish.” That advice deserves attention. Many homeowners begin with polished chrome or matte black. However, the existing wall outlet matters more. Most residential shower arms use a 1/2-inch NPT connection, but older bathrooms may require careful checking. Measure twice.
This guide explains how to compare wall-mounted and ceiling-mounted designs, select a suitable reach, and match the arm with your showerhead. It also considers brass, stainless steel, corrosion resistance, and the effect of water pressure. Experienced installers know that a rigid brass arm usually feels more dependable than a thin, lightweight model. Still, heavier is not automatically better. The wall connection must support it securely.
Small details matter. A long arm may improve coverage, yet it can increase stress on the fitting. A short arm may look neat, but the spray could sit too close to the wall. There is no perfect choice for every bathroom. That is the part many buying guides miss. Before purchasing, inspect the plumbing, measure the shower space, and check applicable local installation requirements. A beautiful Shower Arm is useful only when it works safely every morning.
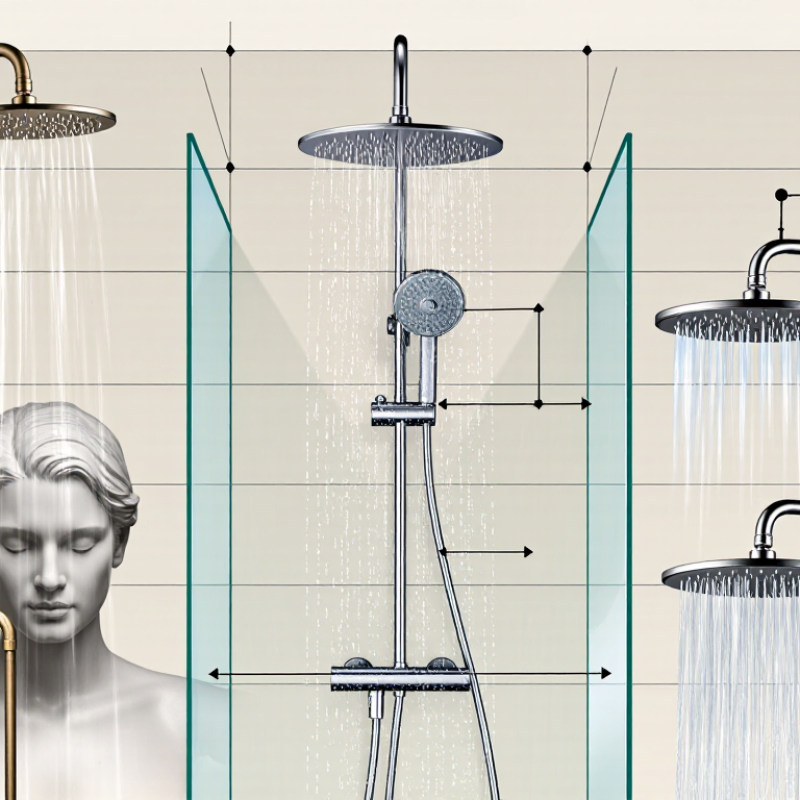
Understanding Shower Arm Types and Their Installation Configurations
Shower arms differ in shape, reach, and mounting position. A straight wall-mounted arm is common and suits many standard shower layouts. A longer arm can move the showerhead away from a tiled wall or provide more clearance above a tub. For a softer, overhead feel, a ceiling-mounted arm places the showerhead directly above the user. It often needs suitable plumbing inside the ceiling, so it is not always a simple swap.
The connection matters. Most wall-mounted arms screw into a threaded fitting inside the wall, called a drop-ear elbow. Before buying, check the existing arm’s thread size, the fitting’s condition, and the distance from the wall to the desired showerhead position. Measure twice. A small mismatch can leave the showerhead too close to the wall or put stress on the connection. If the fitting moves, leaks, or sits deep behind the tile, ask a qualified plumber to inspect it rather than forcing the arm.
Installation also depends on the finished wall and the showerhead’s weight. A gently angled arm can direct spray downward, while a riser-style arm raises the showerhead without moving the wall connection. Use suitable thread seal tape on compatible threaded joints, and tighten carefully; too much force may damage fittings or finishes. I have found that reach is easy to overlook when choosing from a picture. Mark the planned showerhead position with tape, then check it while standing in the shower.
Assessing Bathroom Layout, Wall Structure, and Showerhead Position
Before choosing a shower arm, map the bathroom rather than relying on a standard height. Stand where you normally shower and check whether the spray will hit your shoulders, the curtain, or the door. Measure from the finished floor to the showerhead, then consider the tallest regular user. A long, angled arm can move the spray away from a wall, but it also adds leverage. That matters on older walls.
Check the wall structure before buying. Tile is a finish, not reliable support; locate the pipe elbow and confirm the arm can thread securely into it. If the wall flexes or the fitting feels loose, pause and have it inspected. Small detail, big difference. The U.S. Environmental Protection Agency’s WaterSense program sets a maximum flow of 2.0 gallons per minute for labeled showerheads, compared with the federal standard of 2.5 gallons per minute. Flow and spray pattern can affect how far water reaches, so test the head’s position with its actual specifications in mind. Measurements help, but they cannot fully predict the spray in a real bathroom.
How to Choose the Right Shower Arm for Your Bathroom?
Use this planning chart to compare typical shower arm projections with common bathroom layouts. Confirm the wall structure, finished wall thickness, ceiling height, and showerhead position before installation.
Planning guidance: Compact alcoves commonly suit a 6-inch arm, while standard alcoves and walk-in showers often allow 8–10 inches. Larger walk-in layouts may accommodate a 12-inch arm, provided the showerhead remains centered and clear of doors, glass panels, and adjacent walls.
Choosing the Right Material, Finish, Length, and Shape
Choosing the Right Shower Arm for Your Bathroom
Material affects durability, weight, and maintenance. Solid brass offers strength for frequent use, while stainless steel resists moisture and corrosion. Plastic can reduce cost, but it may feel less stable over time. Check the connection thread before buying. A beautiful arm is useless if it does not fit your existing pipe. I once chose by appearance alone and needed an adapter later.
The finish should suit your bathroom, but matching every fixture is not essential. Polished surfaces reflect light and show water spots quickly. Brushed finishes hide fingerprints and minor marks better. Dark coatings can look elegant, yet hard-water stains may become more visible. Wipe the arm regularly with a soft cloth. Avoid abrasive cleaners, which can damage the protective layer.
Length and shape change the shower experience. Measure from the wall connection to the center of your shower area. A short arm may push water too close to the wall. A long arm can create awkward spray or require stronger support. My first estimate was slightly wrong. Rechecking the measurement prevented a costly replacement. Straight arms suit compact spaces, while curved arms provide more clearance. Round shapes feel softer, and square designs create sharper visual lines. Consider head size, ceiling height, and the user’s reach before deciding.
Comparing Durability, Maintenance Needs, Style, and Cost
How to Choose the Right Shower Arm for Your Bathroom?
A shower arm must survive heat, moisture, mineral deposits, and daily movement. I usually inspect the thread, wall plate, and connection before judging its appearance. Solid brass or stainless steel generally offers stronger long-term performance than thin plated metal. However, material labels can mislead. Check the product specification, thread standard, and corrosion-resistance details. A beautiful finish cannot repair a weak connection behind the wall.
Maintenance depends on your water quality and showerhead choice. The U.S. EPA WaterSense specification limits certified showerheads to 2.0 gallons per minute, compared with the federal 2.5-gallon standard. Lower flow can reduce cleaning and water-heating demand without sacrificing tested performance. The U.S. Department of Energy reports that water heating uses about 18% of household energy. That makes flow efficiency relevant to running costs. Still, mineral-heavy water may clog small openings quickly. Choose a removable screen or easy-clean nozzle. Avoid harsh acids on decorative finishes. I have seen “easy-clean” parts stain when cleaners were used too aggressively.
Style affects comfort, but not always value. A longer wall-mounted arm can improve shoulder clearance in a compact enclosure. A ceiling arm creates a rainfall effect, yet repairs may become less convenient. Compare the arm, flange, showerhead, and installation labor as one cost. Cheap is not always economical. Incomplete seals can cause hidden damage. A slightly higher upfront price may buy better threads, a steadier finish, and fewer replacement parts, though that assumption still deserves verification from the warranty and installation instructions.